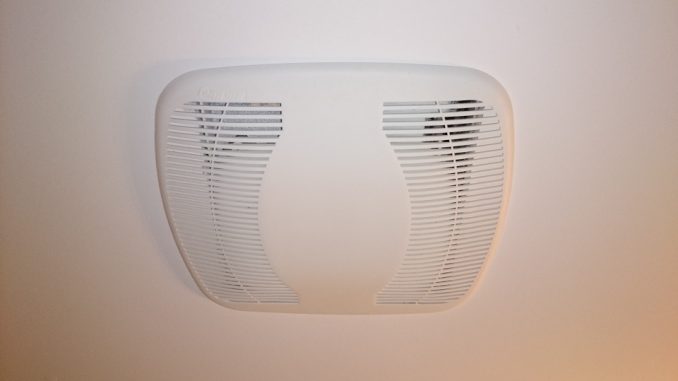
To prevent mold in the bathroom, I decided to replace an existing bathroom exhaust fan with a more powerful exhaust fan, i.e. higher CFM or “Cubic Feet per Minute”.
In an ENERGY STAR® home, it requires a lot of effort to replace a bathroom exhaust fan on top floor because of the vapor barrier between ceiling and insulation material on the attic.
For DIY, it is a good idea of not enlarging an existing exhaust fan opening on the ceiling and re-sealing the vapor barrier around the exhaust fan. As a result, I retrofitted the exhaust fan using a different exhaust fan model from the same manufacturer.
1) My builder installed an Air King BFQ50 exhaust fan (50 CFM) in the bathroom.

2. The fan housing indicated “for use with BFQ50/75/80/90/110/140” motors.

3. To simplify the fan replacement, I bought an Air King BFQ110 model (100 CFM) for this bathroom fan retrofit project.
[amazon asin=B002PU9Q4O&template=iframe image]

4. Since the existing fan housing could be used for BFQ110 motor, I kept the existing fan housing and replaced the fan motor and blower wheel only. “New” BFQ110 fan motor and blower wheel were removed from the housing.

5. Unplugged the old BFQ50 fan motor power from the existing fan housing.

6. Unscrewed screws from the BFQ50 motor bracket, and removed the BFQ50 fan motor and blower wheel from the existing housing.

7. Installed the new BFQ110 fan motor and blower wheel (from step 4 above) to the existing fan housing. Plugged in the new BFQ110 fan motor power.

8. Installed a grill and turned on the “new” exhaust fan. To test the fan’s suction, took a single square of toilet paper and placed it along the fan vent while the fan was running. Bingo!!! The fan held up the toilet paper and was working properly.

9. (Optional). To help moving humid air out of the bathroom, I installed a humidity sensor switch (Leviton humidity sensor switch IPHS5, the right switch with a green LED light in the picture).
It will turn on the exhaust fan when one is taking a shower (i.e. humid air) and will keep the fan running for a fixed amount of time.

Time Saving Tips:
- Retaining an existing fan housing and replacing a fan motor saves the time of drywall repair (on ceiling) and vapor barrier re-sealing.
- Running the exhaust fan for extra 10 minutes after a shower saves the time and hassle of mold removal in a bathroom.
[amazon asin=B001R2LE4G&template=iframe image][amazon asin=B001R2JWYA&template=iframe image][amazon asin=B000EVUAXW&template=iframe image][amazon asin=B002PU9Q4O&template=iframe image] [amazon asin=B001U5YO7E&template=iframe image][amazon asin=B00H3QQD64&template=iframe image]